


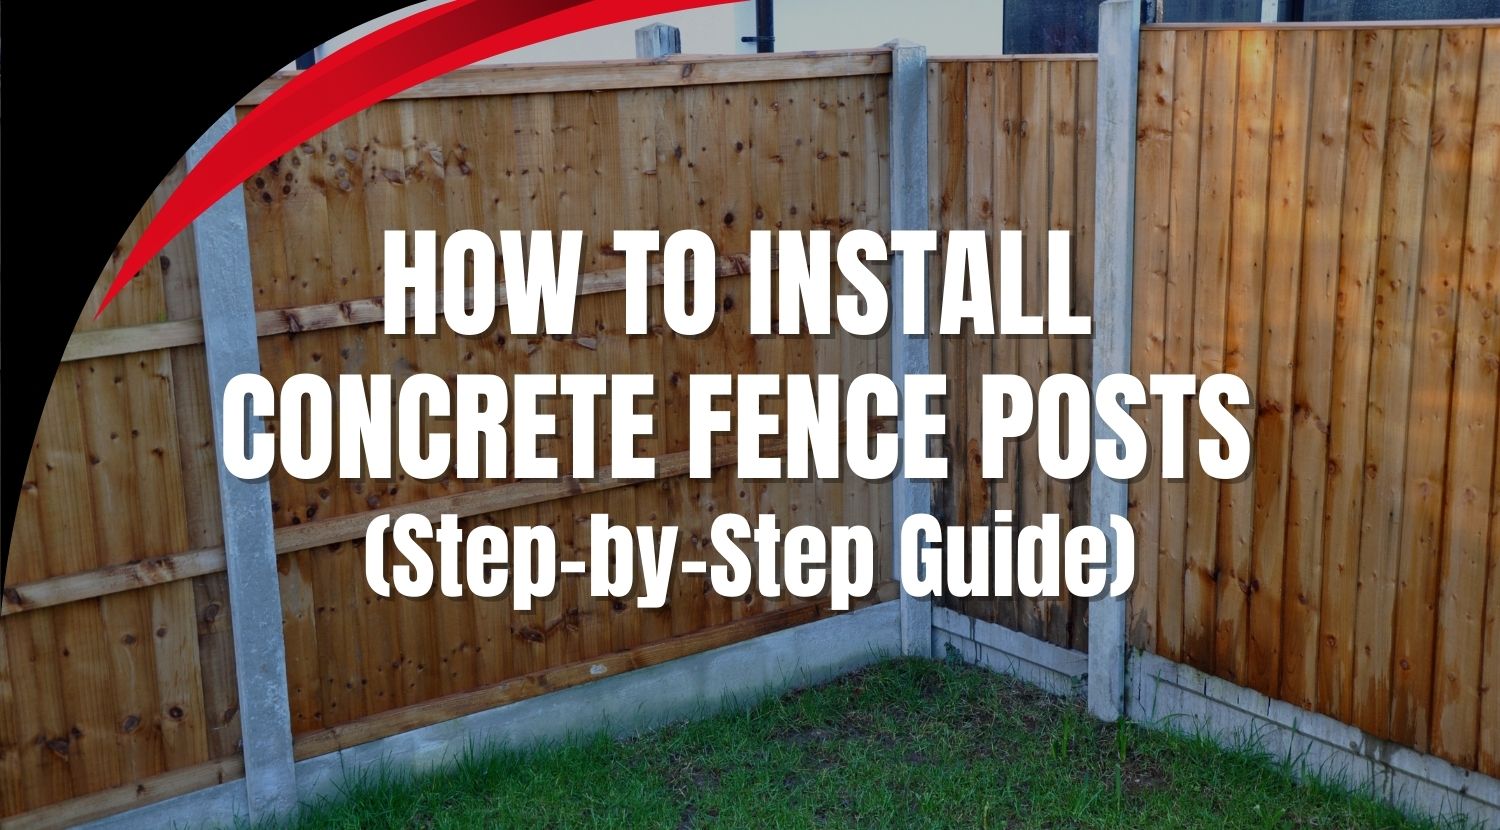
How to Install Concrete Fence Posts (Step-by-Step Guide)


Installing concrete fence posts is one of the best ways to build a strong, long-lasting fence. Unlike timber, concrete posts won’t rot, warp or weaken over time. As a result, they are a popular choice for both tradespeople and serious DIY jobs.
In this guide, we’ll show you exactly how to install concrete fence posts step by step. We’ll also cover the tools you need, common mistakes to avoid, and the fixings required for different fence types.
Concrete posts offer several advantages over timber:
In addition, slotted concrete posts make installation quicker, as fence panels simply drop into place.
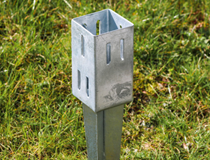
Before you start, it’s important to choose the right type of post:
Intermediate posts
Used between panels in a straight run.
Corner posts
Designed for 90° turns in your fence line.
End posts
Used at the start or end of a fence run.
Pro tip:
Always plan your layout before digging to avoid repositioning posts later.
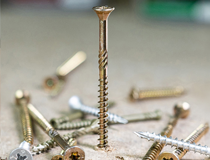
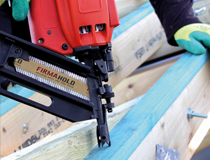
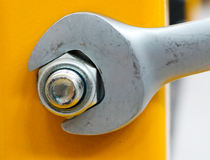
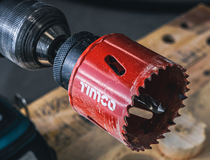
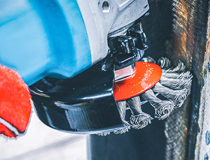
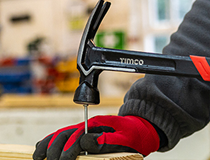
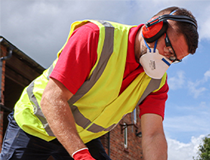
Tools:
Materials:
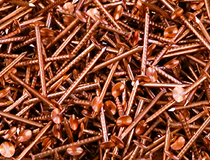
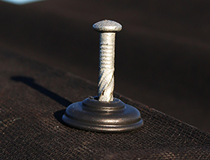
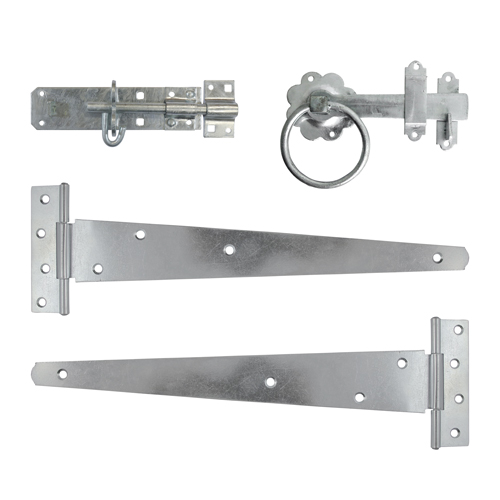
Fixings & Brackets:
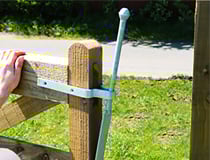
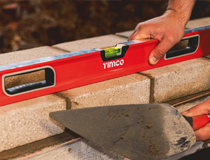
You can also improve accuracy using a post level, especially when working alone.
Pro tip:
Check for slopes before marking out. Uneven ground can affect spacing and post height.
Trade tip:
If you’re working in clay soil, dig slightly deeper to prevent water build-up weakening the post.
Place the concrete post into the hole. Then check it is perfectly vertical using a spirit level or post level.
If needed, brace the post with timber to hold it steady.
This is where using a post level really helps with accuracy.
Pro tip:
Always check two sides of the post. One side alone is not enough.
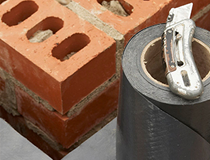
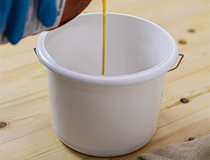
Pour your postcrete into the hole around the post. Then add water as directed.
Fill to just above ground level.
Important tip:
Slope the top of the concrete away from the post. This prevents water sitting at the base.
Before the concrete sets, check alignment using your string line.
Adjust each post as needed to keep everything straight.
Trade tip:
Take your time here. One misaligned post will affect the entire fence.
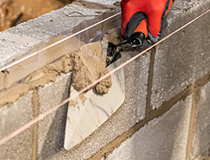
Start by fitting the gravel boards. These protect your fence from ground moisture.
Then slot fence panels into place.
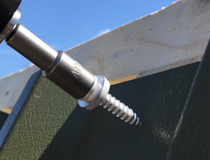
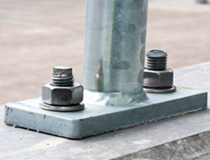
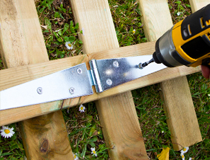
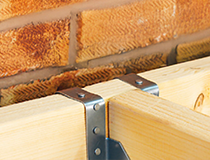
For closeboard fencing, you’ll need fixings such as:
This method is commonly used for concrete post fencing systems and makes installation quicker and more secure.
Postcrete sets quickly, usually within 5–10 minutes. However, you should leave it for at least 24 hours before adding weight or stress.
Avoid working in strong winds during this stage.
If you’re installing closeboard fencing or rails, you’ll need additional fixings.
These include:
These provide extra strength and keep your fence secure over time.
As a general guide:
Always check hole size and depth before estimating.
 Timco Side Gate Kit - Ring Latch - Hot Dipped Galvanised - 18"
£15.24 ex VAT(£18.29 inc VAT)
Timco Side Gate Kit - Ring Latch - Hot Dipped Galvanised - 18"
£15.24 ex VAT(£18.29 inc VAT)
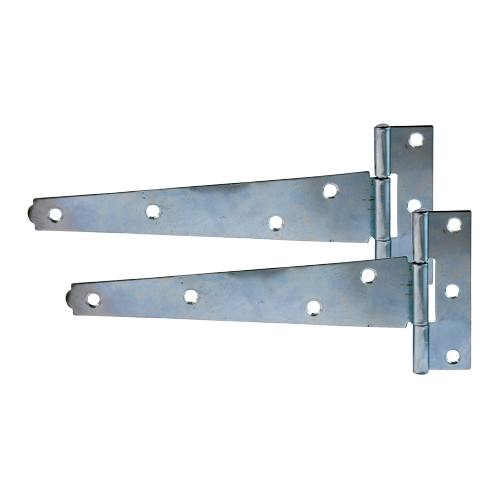
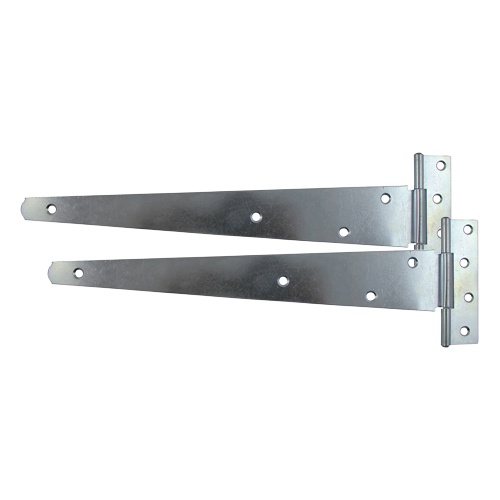 Timco Pair of Medium Tee Hinges - Zinc - 16"
£4.41 ex VAT(£5.29 inc VAT)
Timco Pair of Medium Tee Hinges - Zinc - 16"
£4.41 ex VAT(£5.29 inc VAT)
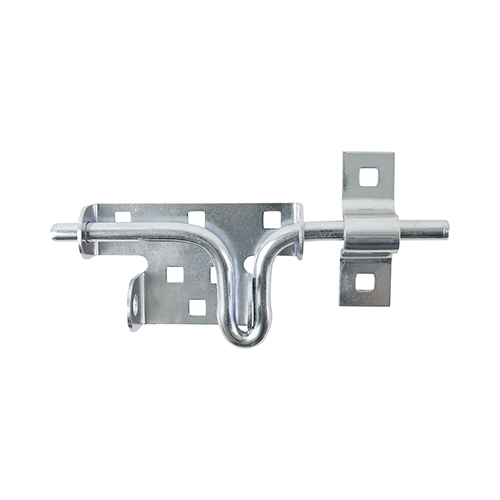 Timco Slide Action Padbolt - Zinc - 7 5/16"
£6.91 ex VAT(£8.29 inc VAT)
Timco Slide Action Padbolt - Zinc - 7 5/16"
£6.91 ex VAT(£8.29 inc VAT)
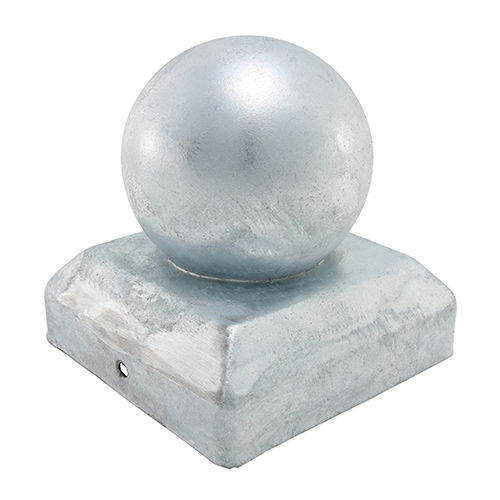 Timco Ball Fence Post Cap - Zinc - 100mm
£3.74 ex VAT(£4.49 inc VAT)
Timco Ball Fence Post Cap - Zinc - 100mm
£3.74 ex VAT(£4.49 inc VAT)
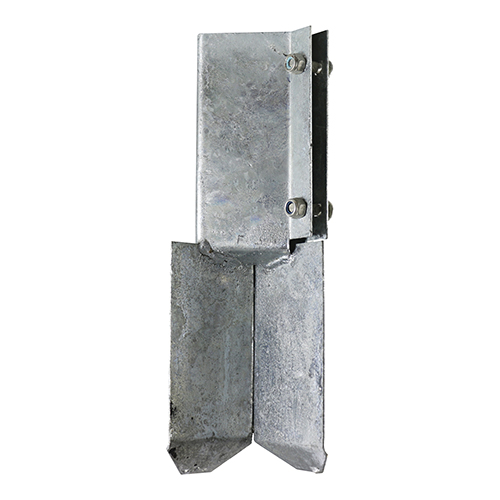 Timco Concrete In Shoe - Bolt Secure - Hot Dipped Galvanised - 75mm - Box of 10
£85.83 ex VAT(£102.99 inc VAT)
Timco Concrete In Shoe - Bolt Secure - Hot Dipped Galvanised - 75mm - Box of 10
£85.83 ex VAT(£102.99 inc VAT)
 Timco Pair of Light Tee Hinges - Zinc - 6"
£1.83 ex VAT(£2.19 inc VAT)
Timco Pair of Light Tee Hinges - Zinc - 6"
£1.83 ex VAT(£2.19 inc VAT)
| Feature | Concrete Posts | Timber Posts |
|---|---|---|
| Lifespan | Very long | Can rot over time |
| Maintenance | Low | Higher |
| Strength | High | Moderate |
| Installation | Heavier / harder | Easier |
How deep should concrete fence posts be?
At least 600mm deep, or deeper for taller fences.
How long does postcrete take to set?
Initial set takes 5–10 minutes. Full strength develops over 24 hours.
Do I need gravel at the bottom?
Yes. It improves drainage and prevents water damage.
Can I install fence posts without concrete?
You can, but concrete provides much better strength and durability.
What size concrete fence posts do I need?
Most standard fence panels are 6ft wide, so posts are typically spaced at 1.8m centres. Always check panel size before installing.
No account yet?
Create an AccountSign up to our newsletter and get your first order discount code straight to your inbox.
*Some exclusions apply
We use cookies to ensure our website functions correctly and securely. Some cookies are strictly necessary, while others help us understand how visitors interact with the site so we can improve content, features, and performance. You’re in control – adjust your preferences at any time.
Already have an account? Login
Become a VIP member for free and unlock exclusive discounts.
Bronze1% Discount off EVERY order Silver2.5% Discount off EVERY order Gold4.5% Discount off EVERY order Platinum7% Discount off EVERY order Titanium10% Discount off EVERY orderAlready have an account? Login
Already have an account? Login
Already have an account? Login
Already have an account? Login
Already have an account? Login