


How to Install Joist Hangers on Timber Beams (Complete Guide)
On March 19, 2026
Comments Off on How to Install Joist Hangers on Timber Beams (Complete Guide)
How to Install Joist Hangers on Timber Beams
Joist hangers are one of the most common and reliable ways to support timber joists in structural timber work. Designed to provide a strong mechanical connection between joists and supporting structures, they are widely used in floor construction, decking frames, loft conversions and timber extensions.
Because they allow joists to be installed quickly and accurately without complex joinery, joist hangers are popular with builders, carpenters and contractors working on both new build and renovation projects.
Understanding how to install joist hangers correctly helps ensure a strong and stable connection between the joist and the supporting structure.
In this guide we explain:
What Are Joist Hangers?
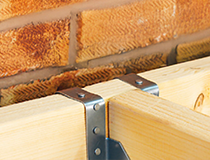
Joist hangers are galvanised steel brackets designed to support the end of a timber joist. They allow the joist to be fixed securely to a supporting structure without the need for complex carpentry joints.
Joist hangers are commonly used when installing:
- floor joists
- deck joists
- roof timbers
- loft floors
- timber extensions
Most joist hangers are manufactured from galvanised steel, providing corrosion resistance and long-term structural performance.
Types of Joist Hangers
There are several joist hanger types depending on the structure they are fixing into.
Timber to Timber Joist Hangers
Timber joist hangers are used when fixing joists directly to:
- timber beams
- ledger boards
- timber wall plates
These are typically installed using structural nails or screws through pre-punched holes.
Common options include:
Timber to Masonry Joist Hangers
Masonry joist hangers are designed to support timber joists from brick or block walls.
Instead of being nailed to timber, they are usually:
- built into masonry during construction
- installed into existing walls during renovation
Two of the most common types are:
These are often supplied in trade packs or boxes, making them ideal for full floor installations.
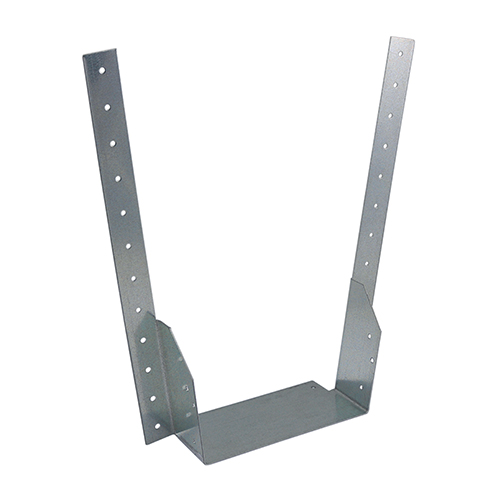
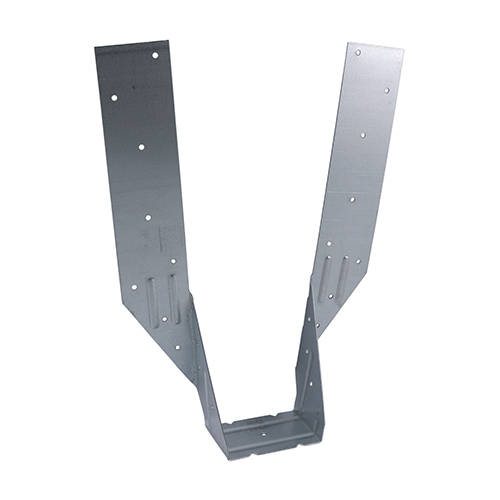
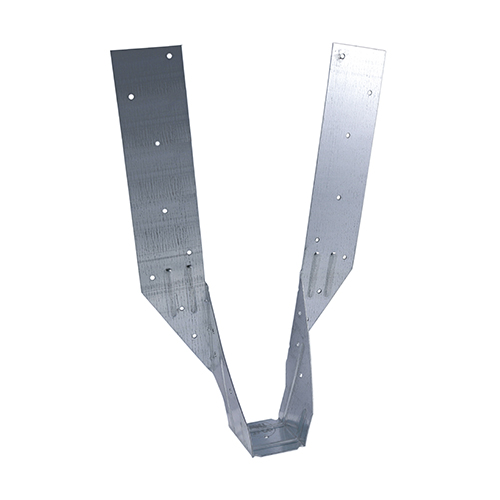
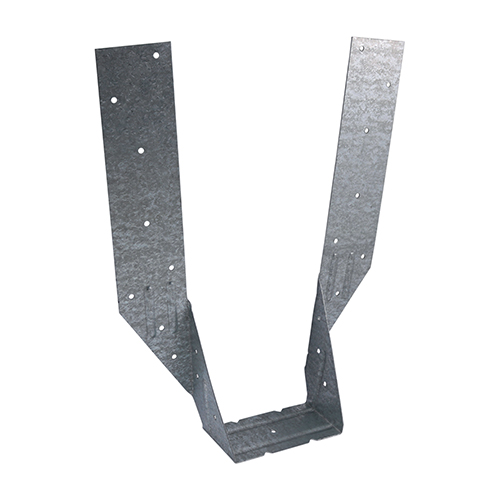
Standard Timber Hangers
-
 Timco Timber Hangers - Standard - Galvanised - 125mm x 100 to 225mm - Box of 10
£23.49 ex VAT(£28.19 inc VAT)
Timco Timber Hangers - Standard - Galvanised - 125mm x 100 to 225mm - Box of 10
£23.49 ex VAT(£28.19 inc VAT)
-
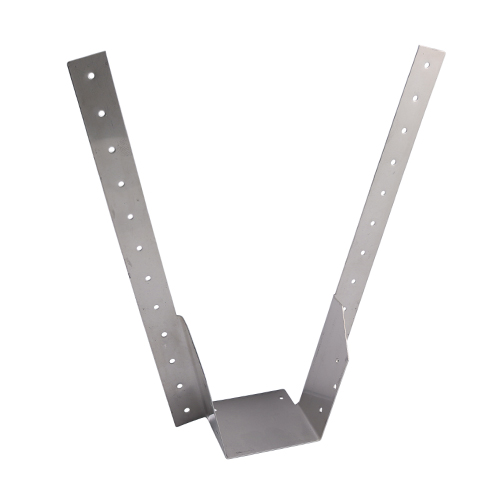
Timco Timber Hangers - Standard - A2 Stainless Steel - 76mm x 100 to 225mm - Box of 20
£211.66 ex VAT(£253.99 inc VAT)
-
Timco Timber Hangers - Standard - Galvanised - 150mm x 100 to 225mm - Box of 10
£23.49 ex VAT(£28.19 inc VAT)
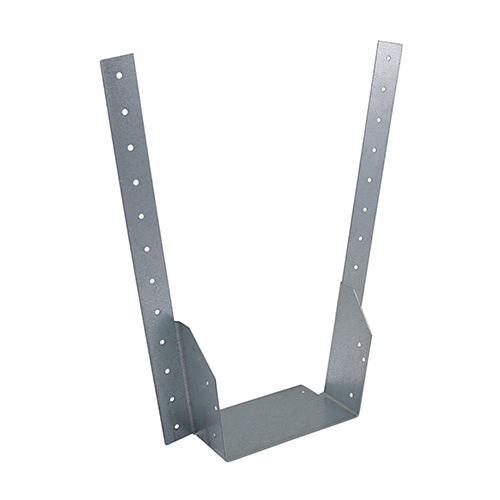

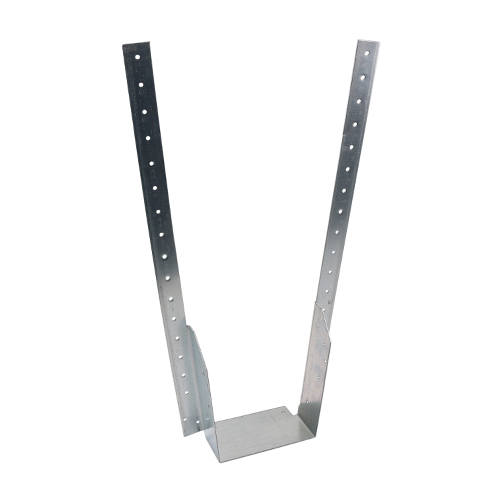
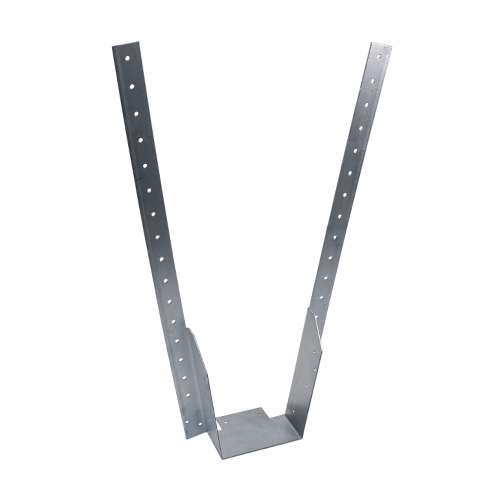
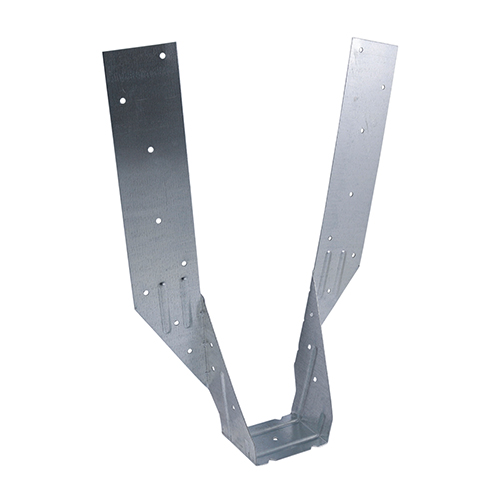
Long Leg Timber Hangers
-
Timco Timber Hangers - Long Leg - Galvanised - 125mm x 150 to 250mm - Box of 10
£56.66 ex VAT(£67.99 inc VAT)
-
Timco Timber Hangers - Long Leg - Galvanised - 100mm x 150 to 250mm - Box of 10
£38.83 ex VAT(£46.59 inc VAT)
Common Joist Hanger Sizes
Different joist sizes require different hangers. Choosing the correct width ensures the timber sits securely inside the bracket.
| Joist Hanger Width | Typical Timber Size | Common Use |
|---|---|---|
| 47mm joist hangers | 47mm timber joists | Floor joists and decking structures |
| 75mm joist hangers | 75mm timber joists | Structural floors and roof framing |
| 100mm joist hangers | 100mm joists | Heavier structural timber installations |
| 150mm joist hangers | Deep structural joists | Heavy duty floor structures |
Always match the hanger width to the joist width to ensure proper load transfer.
How to Attach Joist Hangers to Timber Beams
Installing joist hangers onto timber beams is a straightforward process when done correctly.
1. Mark the Joist Positions
Start by marking the position of each joist on the timber beam.
Common spacing:
- 400mm centres
- 450mm centres
- 600mm centres
Ensure all marks are square and aligned.
2. Position the Joist Hanger
Hold the joist hanger against the timber beam so the bottom of the hanger sits at the correct level for the joist.
Check that the hanger is level before fixing.
3. Fix the Hanger to the Beam
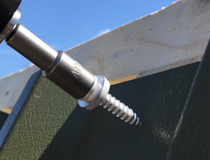
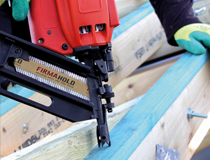
Secure the hanger using the correct fixings.
Manufacturers usually recommend galvanised structural nails for joist hangers, although some designs allow structural screws.
All required holes should be filled to achieve full load capacity.
4. Insert the Joist
Slide the timber joist into the hanger.
The joist should sit tightly against the back of the hanger with minimal gaps.
5. Secure the Joist
Finally, fix through the side holes in the hanger to lock the joist in position.
Once installed, check that the joist is level and properly supported.

Installing Timber to Masonry Joist Hangers
When installing joists into brick or block walls, masonry hangers are used instead.
These are typically built into the wall during construction.
The installation process usually involves:
- building the wall to the required height
- positioning the hanger against the masonry
- continuing the wall above the hanger
- inserting the timber joist once the hanger is secure
For renovation work, hangers may also be installed by cutting a slot into the masonry and fixing the hanger using mortar or structural resin.
Joist Hangers: Nails or Screws?
Many builders ask whether joist hangers should be fixed using nails or screws.
In most cases:
Structural galvanised nails are recommended.
They provide the correct shear strength required for structural connections.
Screws may be used where the manufacturer specifies structural screws designed for joist hangers.
Always follow the fixing schedule provided by the hanger manufacturer.
Common Joist Hanger Installation Mistakes
Incorrect installation can weaken the connection and reduce structural performance.
Common mistakes include:
- using the wrong size hanger
- leaving fixing holes empty
- using incorrect nails or screws
- installing hangers out of level
- leaving gaps between the joist and hanger
Taking time during installation helps ensure a strong and durable connection.
Other Builders Metalwork Often Used with Joist Hangers
When installing timber joists, builders often use additional metalwork to strengthen the structure.
Common examples include:
These components help improve structural stability and are often installed during the same stage of construction.
No Tag Timber Hangers
-
Timco Timber Hangers - No Tag - Galvanised - 75mm x 125 to 220mm - Box of 20
£13.91 ex VAT(£16.69 inc VAT)
-
Timco Timber Hangers - No Tag - Galvanised - 44mm x 125 to 220mm - Box of 20
£14.74 ex VAT(£17.69 inc VAT)
-
Timco Timber Hangers - No Tag - Galvanised - 90mm x 125 to 220mm - Box of 20
£13.91 ex VAT(£16.69 inc VAT)
-
Timco Timber Hangers - No Tag - Galvanised - 47mm x 125 to 220mm - Box of 20
£13.91 ex VAT(£16.69 inc VAT)
-
Timco Timber Hangers - No Tag - Galvanised - 63mm x 125 to 220mm - Box of 20
£13.91 ex VAT(£16.69 inc VAT)

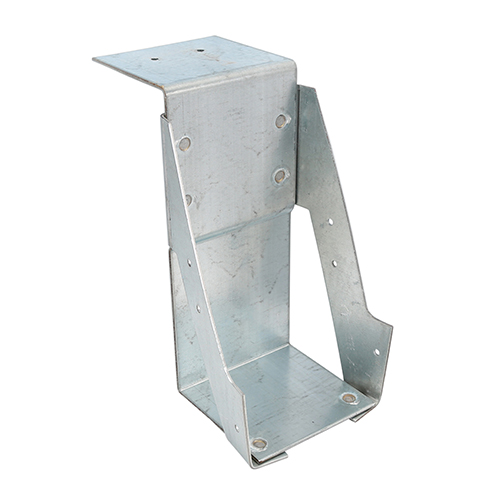
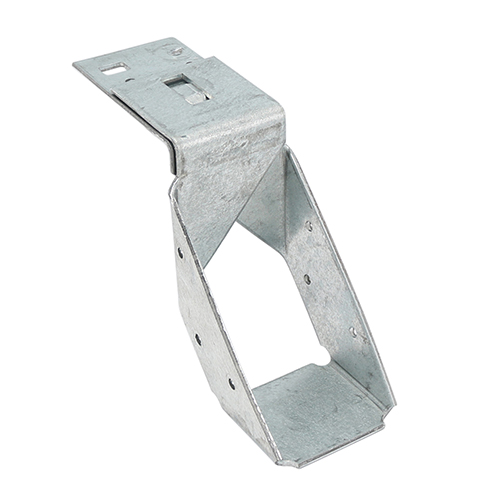
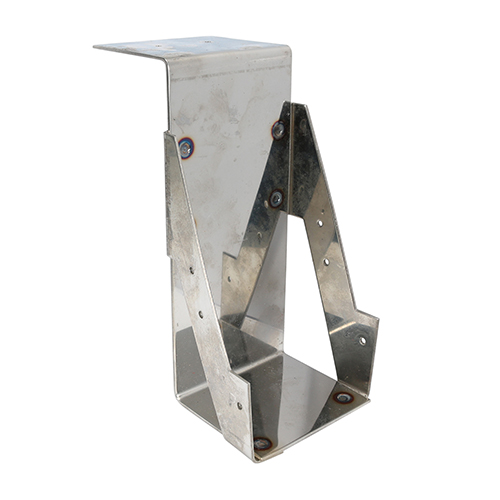
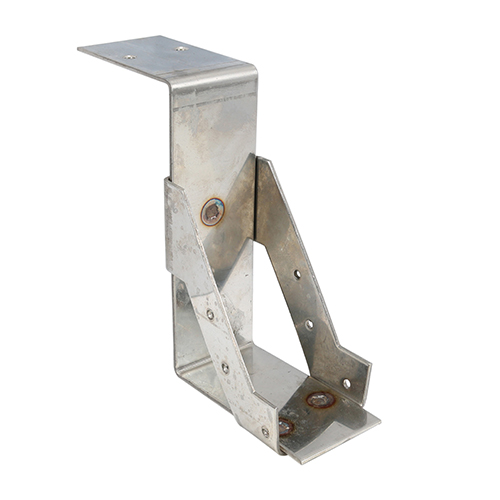
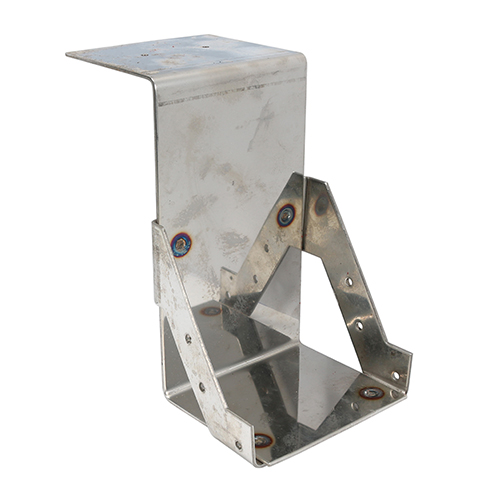
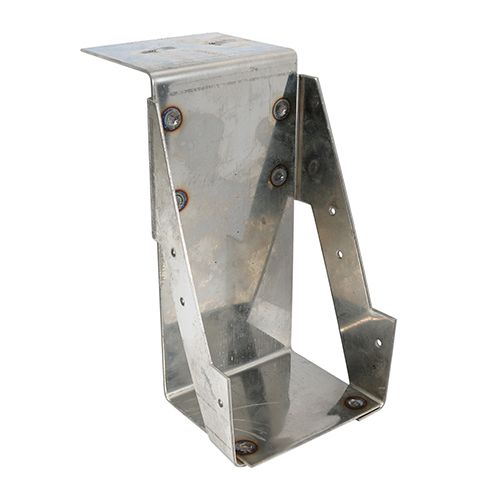
Masonry Joist Hangers
-
Timco Welded Masonry Joist Hangers - Galvanised - 90mm x 200mm - Box of 6
£30.16 ex VAT(£36.19 inc VAT)
-
Timco Single Piece Masonry Hangers - Galvanised - 47mm x 100mm - Box of 10
£22.74 ex VAT(£27.29 inc VAT)
-
Timco Welded Masonry Joist Hangers - Galvanised - 100mm x 225mm - Box of 6
£27.99 ex VAT(£33.59 inc VAT)
-
Timco Welded Masonry Joist Hangers - A2 Stainless Steel - 47mm x 150mm - Box of 6
£99.16 ex VAT(£118.99 inc VAT)
-
Timco Welded Masonry Joist Hangers - A2 Stainless Steel - 100mm x 175mm - Box of 6
£150.83 ex VAT(£180.99 inc VAT)
-
Timco Welded Masonry Joist Hangers - A2 Stainless Steel - 100mm x 200mm - Box of 6
£166.66 ex VAT(£199.99 inc VAT)
Final thoughts
Joist hangers are an essential component in modern timber construction. Whether installing floor joists, deck frames or roof structures, they provide a strong and reliable connection between timber members.
Choosing the correct hanger type and following the correct installation method ensures the structure remains safe and durable.
For projects involving brick or block walls, masonry joist hangers provide a practical solution for supporting timber joists directly from masonry structures.